Ombre Dying: The DIY guide to making a Princess Daisy Costume
Author: Annie and Ryan (Lost and Farm)
November 2, 2016
Just a couple princesses, doing princess stuff.
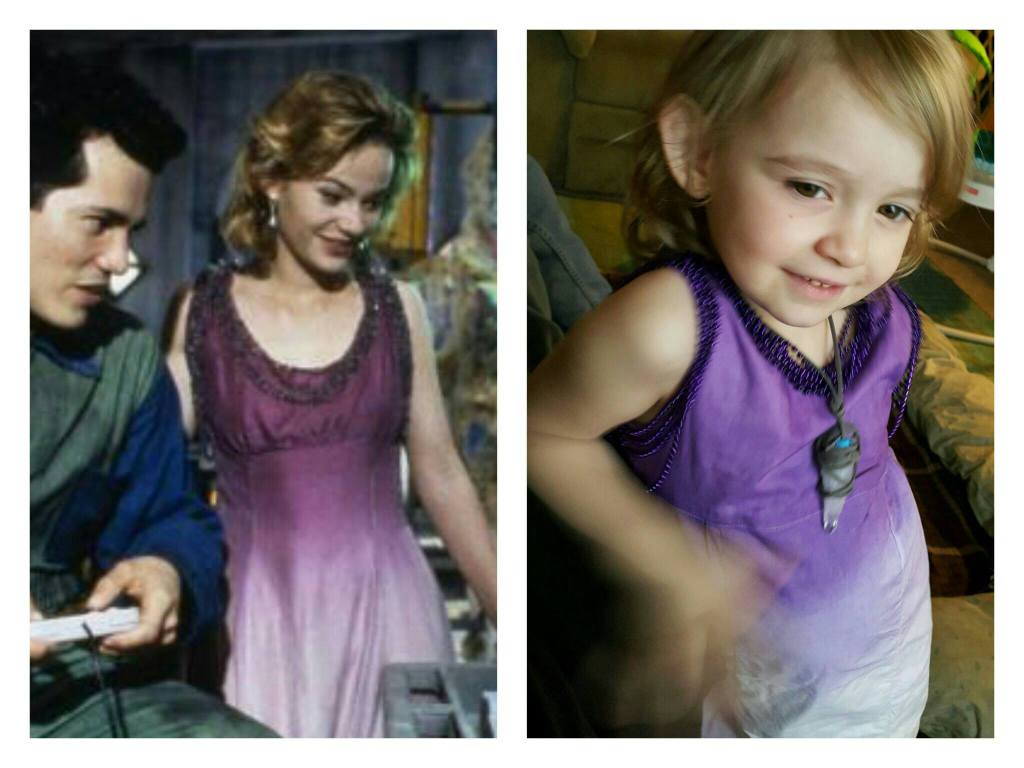
I’ve received several requests asking about the dying process I used to make Evie’s Princess Daisy dress for our “Super Mario Bros. movie” themed Halloween costumes. The process I used is called “Ombre Dying” and thanks to supplies provided by Dharma Trading Company, I had the opportunity to learn the process firsthand. I’m excited to share my journey in hopes that someone else finds the information useful. Enjoy!
If this is your first time visiting the blog, you should know that Halloween costumes are kind of a big deal around here. I’ve written past articles about our budget-friendly costuming process and even done tutorials for specific costumes (like our “The Hobbit” theme from last year). Thanks to Dharma Trading Company generously agreeing to provide supplies for one of this years four costumes, I’m able to do BOTH this time! So check out how I pulled together this year’s costumes in this article then visit the step-by-step tutorial on how to make the most challenging of the four outfits. So let’s dive right in…
If you haven't visited the Dharma Trading Company website, I strongly recommend checking it out. It's easily the most creativity-inspiring site you'll ever see.
There are several steps to making the Princess Daisy costume. To simplify things, I’m breaking it down into three sections: Sewing, Dying and Accessorizing. Each section will have it’s own supply list and instructions. To be realistic to my own time constraints as a parent, I only completed one section per day. This reduced my stress level and gave me a sense of accomplishment along the way. I highly recommend it.

A mix of sewing and dying supplies.
Constructing the dress itself is just a matter of following the instructions on the free pattern. The only adjustments I made were to cut the neckline into a subtle V-neck (instead of the rounded neckline on the pattern) to better resemble the dress in the film. I also basically made two dresses and sewed them together so it would be fully lined. Obviously lining the dress isn’t a requirement but in our climate it gets pretty chilly around Halloween so I thought it would make trick-or-treating a little more pleasant. Later, I added straps to tie the dress in the back so it wouldn’t fit so loosely.
The pattern is very easy though. It would make a fantastic beginners project since there are no complicated buttons or zippers. Even the length and fullness of the skirt is completely negotiable, so you can measure your child to assure the right fit. As far as the fabric is concerned, the mercerized cotton fabric from Dharma Trading Company is not only affordable (under $5 per yard!) but it is crazy EASY to work with. It doesn’t fray easily, can be finger-pressed on the seams if you don’t feel like pulling out an iron and looks absolutely angelic when left un-dyed… but obviously I’ll be dying it!
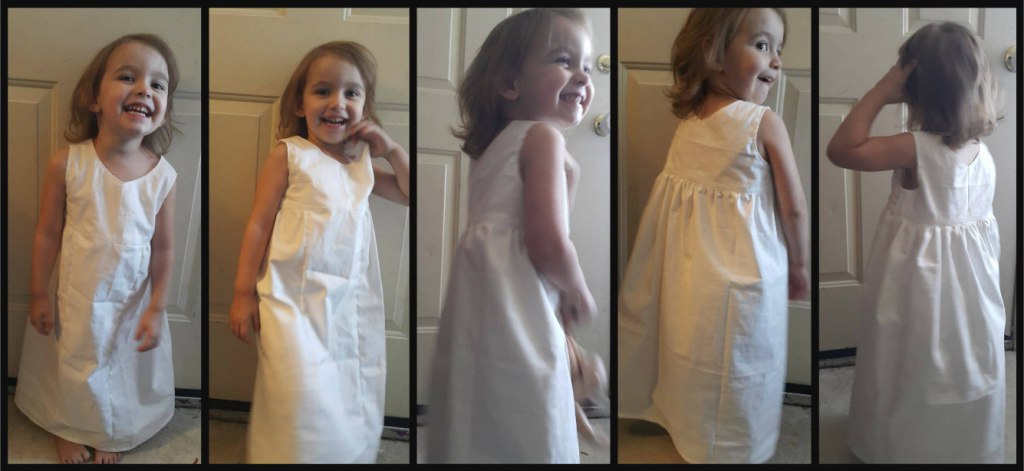
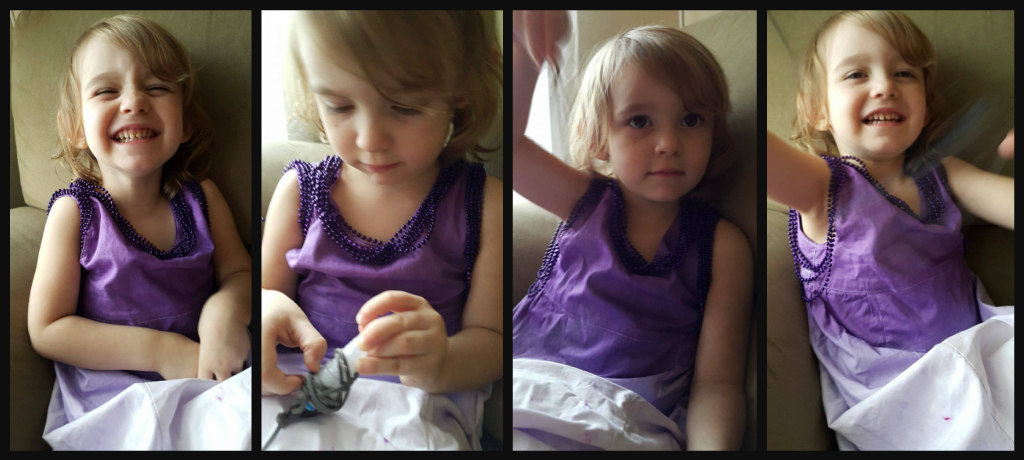
She may not act it, but Evie sure looks angelic sometimes!
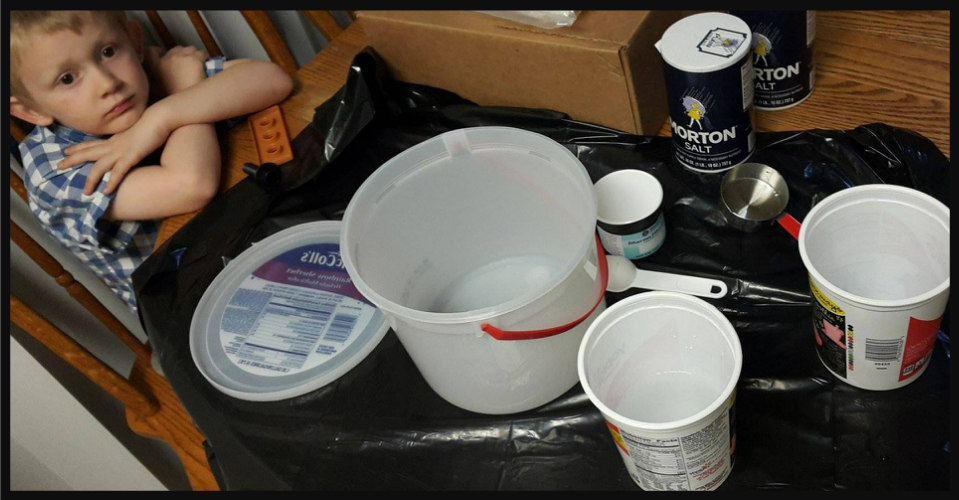
JD was obviously thrilled to watch me setup my dying station.
Prep the fabric by soaking it in 1/3 cup Soda Ash dissolved in 3 gallons of warm water for at least 30 minutes. I did this in the kitchen sink and it made cleanup a breeze afterwards (just pull the plug!).

Make sure the fabric fits loosely in your sink or bucket.
Make the dye concentrate. But first, put on some gloves! Then bust out those two yogurt containers and combine the urea powder with one cup of warm water in one of them. Mix until dissolved. Put the fiber-reactive dye in the bottom of the other cup, then add a couple tablespoons of the urea water and stir until it makes a smooth paste. Carefully add the rest of the urea water and stir gently until combined. Don’t get crazy because little splashing droplets will stain everything they touch!
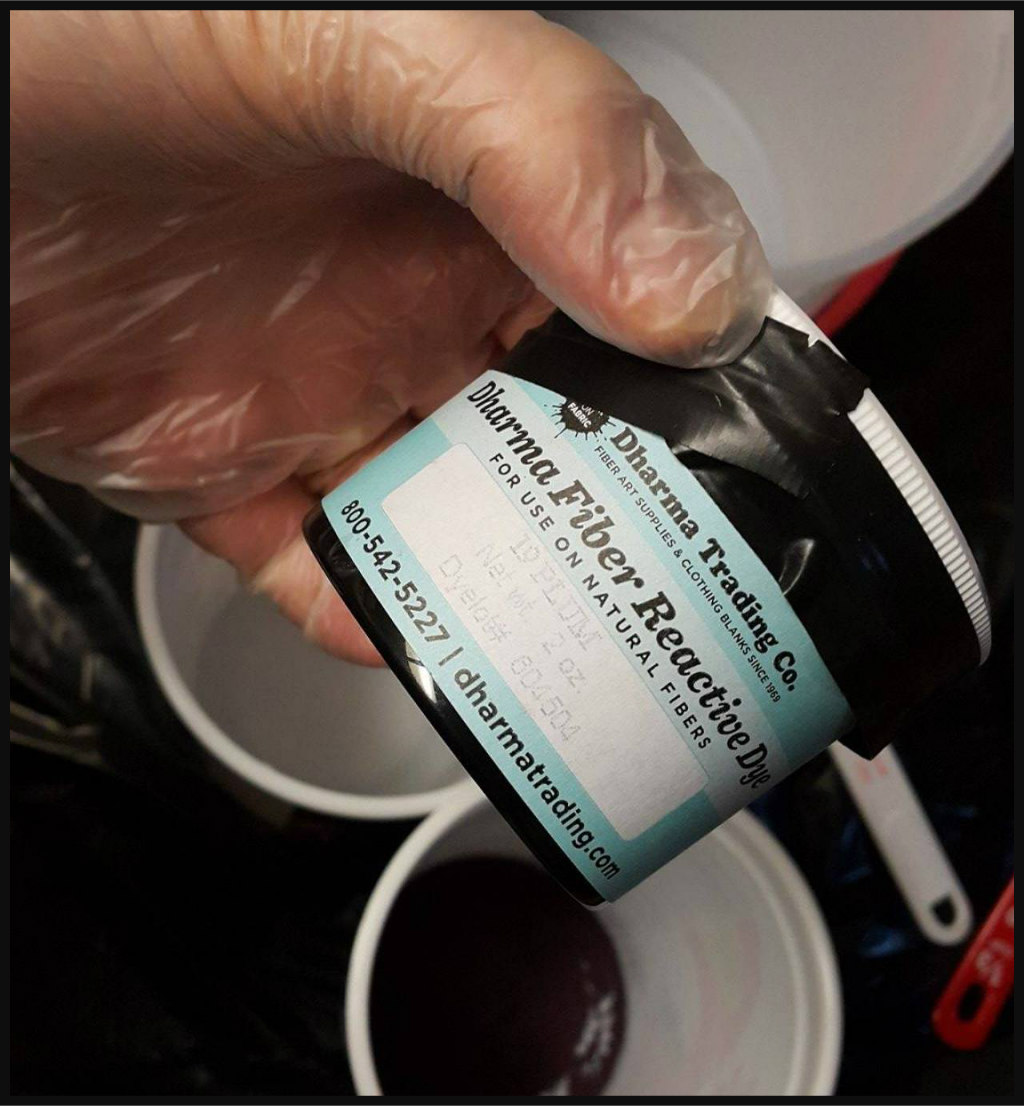
You know things are getting serious when you have to wear gloves.
Prep your dye bath by mixing the salt with warm water in the large bucket. Stir until the salt dissolves completely, then add a teaspoonful (I just used a disposable plastic flatware spoon) of the dye concentrate. Stir gently (again, don’t splash!) to make the lightest shade of your ombre pattern.
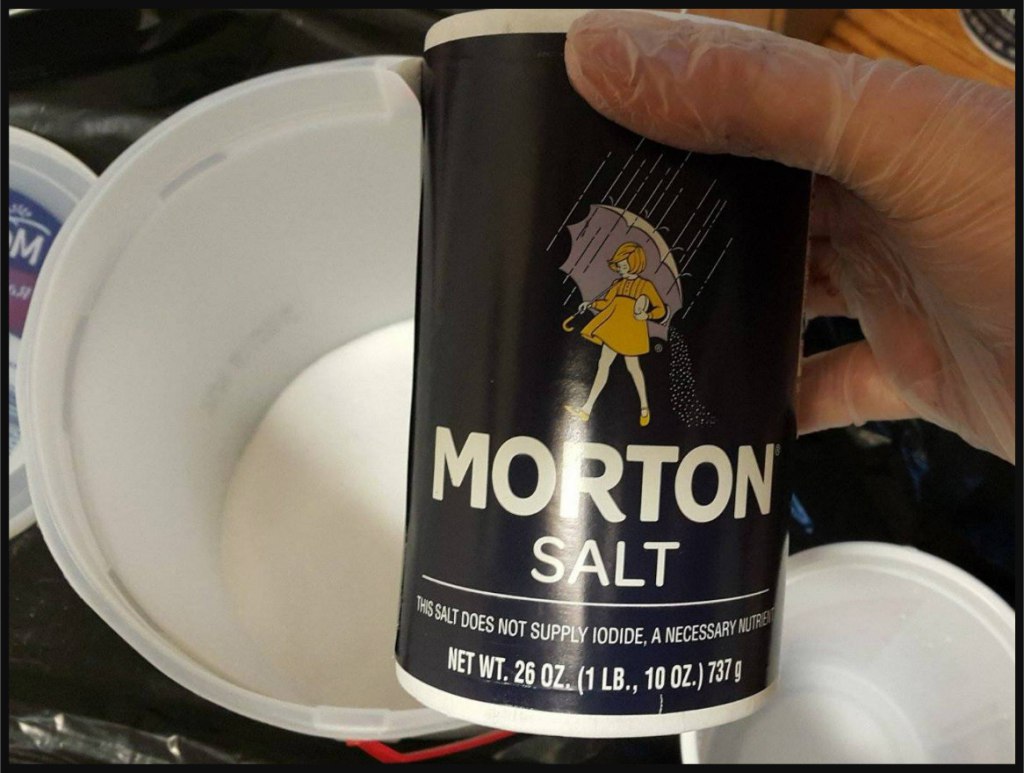
I forgot to order Dyer's Salt so I did a last minute run to the grocery store for some non-iodized salt. Either option works for the dying process but Dyer's Salt dissolves a LOT faster, requires significantly less stirring and makes the process faster.
I dip, you dip, we dip. Make sure your hands and the edges of the bucket are totally clean (wipe down the bucket sides and change gloves if needed), then carefully lower the dress into the bucket upside down. Hold it there for 5-10 minutes (or until it’s reached your desired intensity of color) then carefully place the dress on a protected surface away from the dying area. This is important because any dry particles of the fiber-reactive dye or sprinkles from the dye bath that are on the surface in the dying area will permanently stain the dress with dark spots. Once the dress is safely placed away from the dying area, add another spoonful of the dye concentrate to the dye bath and stir to combine then repeat the dipping process. Continue darkening the dye bath and re-dipping the dress in increasingly more shallow increments until you’ve reached the desired level of princess-worthiness.
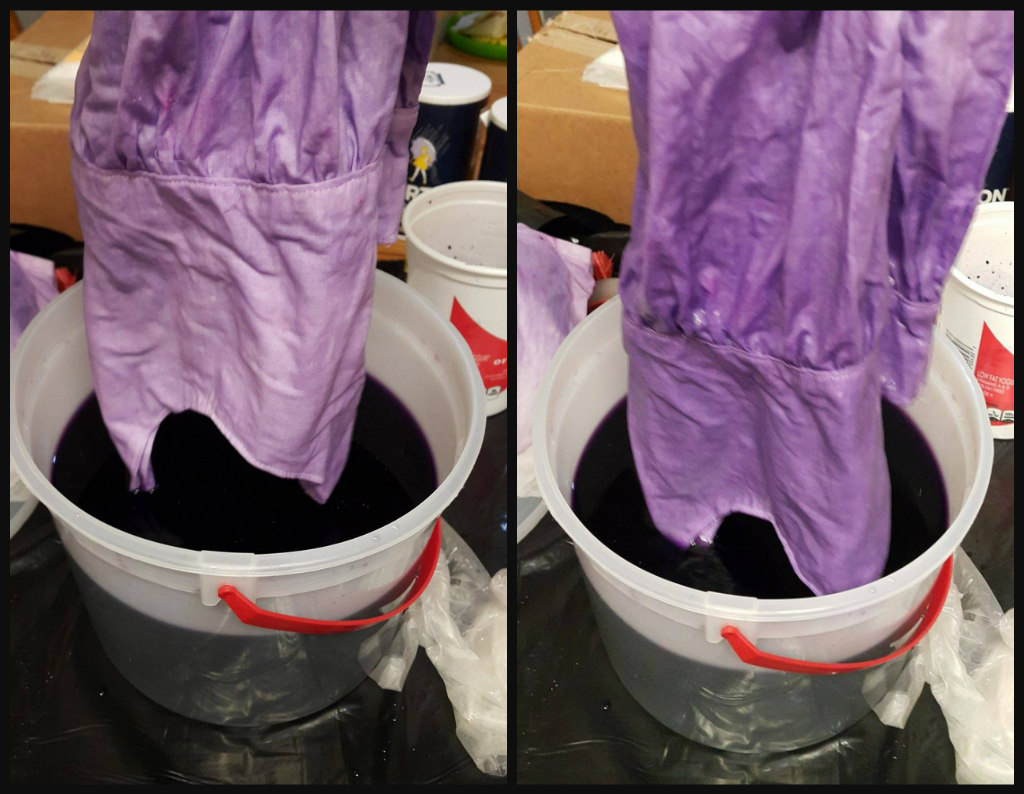
The was the second dip. Because the dress in the film doesn't completely fade to white, I dipped the entire dress with the first (lightest) color.
Rinse, wash, dry. Rinse the dress in cold water until the water runoff is completely clear. It takes a long time, but be patient. I promise it’ll happen! Wring out as much water as possible. Then wash the fabric in hot water with a gentle detergent. Because I live in an apartment and rely on a laundromat across town, I just hand-washed it with Dreft and hung it up to dry overnight.
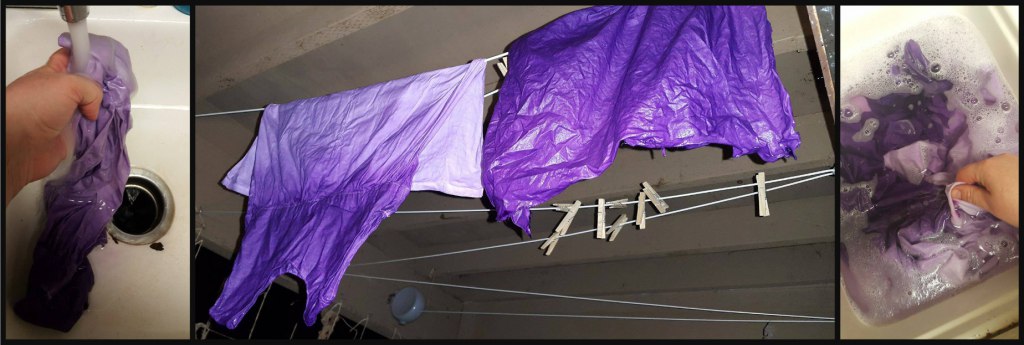
The material hanging next to the dress was used as a “test” material and was later made into ties for the back of the dress because I decided it fit a little too loosely on Evie.
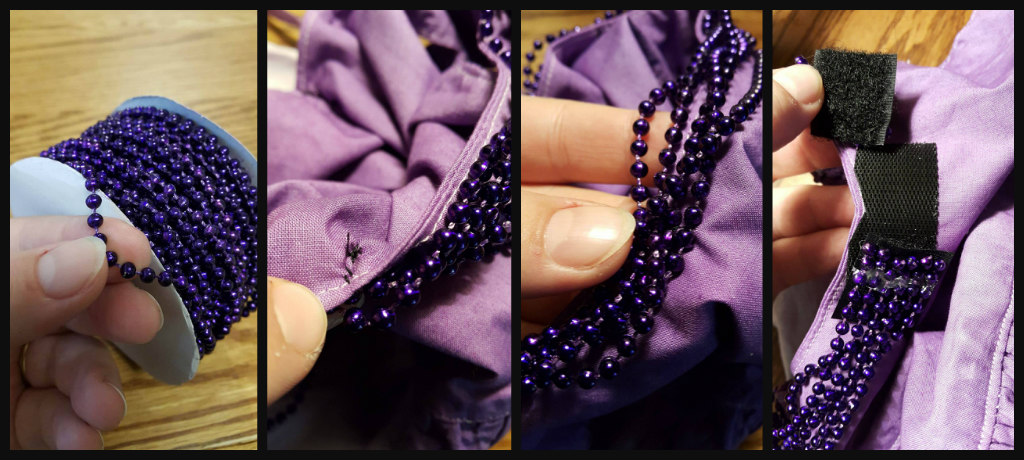
In the film, Princess Daisy wears a dress with a neckline trimmed in strands of amethyst shards… which, let’s face it, looks gorgeous but weighs a TON. Not to mention it would be ridiculously expensive, especially for a 3-year-old’s Halloween costume. As a cheaper (and lighter, safer and easier to work with) alternative, I chose to buy this spool of plum colored 4mm craft pearls for $5. Not only was it cheap for lots and lots of beads, but having pre-made strands meant I wouldn’t have to hand-string all those beads before hand-sewing them onto the dress. Can you image how long that would’ve taken?! So yeah, it may not have exactly the same look as chipped amethyst but even if I could afford to use the real stuff, I wouldn’t waste the time on it.
As I mentioned previously, I had to sew them onto the dress by hand but make sure you attach them to Velcro to allow all of the strands to open and close at the back of the dress. If you don’t, you’ll never get the dress over your kid’s head. Trust me, I tried! When I realized my design flaw I had to cut the bead strands on the back of the dress and add the Velcro. And by “realized my design flaw” I actually mean “got my kid’s head stuck in a tightly beaded collar while trying to slide the dress over her head with her arms still sticking up in the air through the arm holes while she screamed bloody murder”. Yup. Learn from my mistake.
Even using the spool of pearls was tedious, so be patient. Or pay someone you trust to do it for you while you enjoy a glass of wine and a game of Sudoku. I won’t tell.
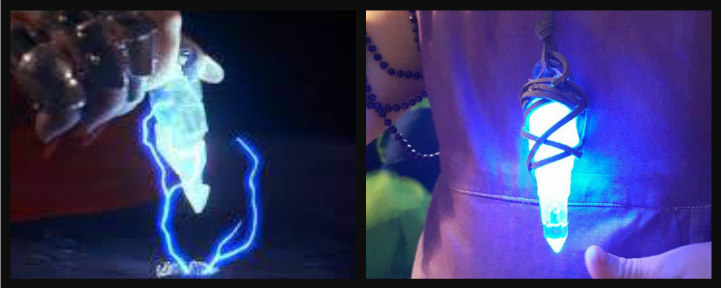
With the dress complete, I can move on to the most iconic piece of jewelry in the film… Making Princess Daisy’s “meteorite fragment” necklace provided some unique challenges. First, the stone in the movie looks like a big hunk of quartz wrapped in a leather cord… but big hunks of quartz are expensive! Secondly, I was determined to make that meteorite fragment glow blue, like it did in the scene where the fragment is reunited with the meteorite. It was a while before I figured out a way to do that!
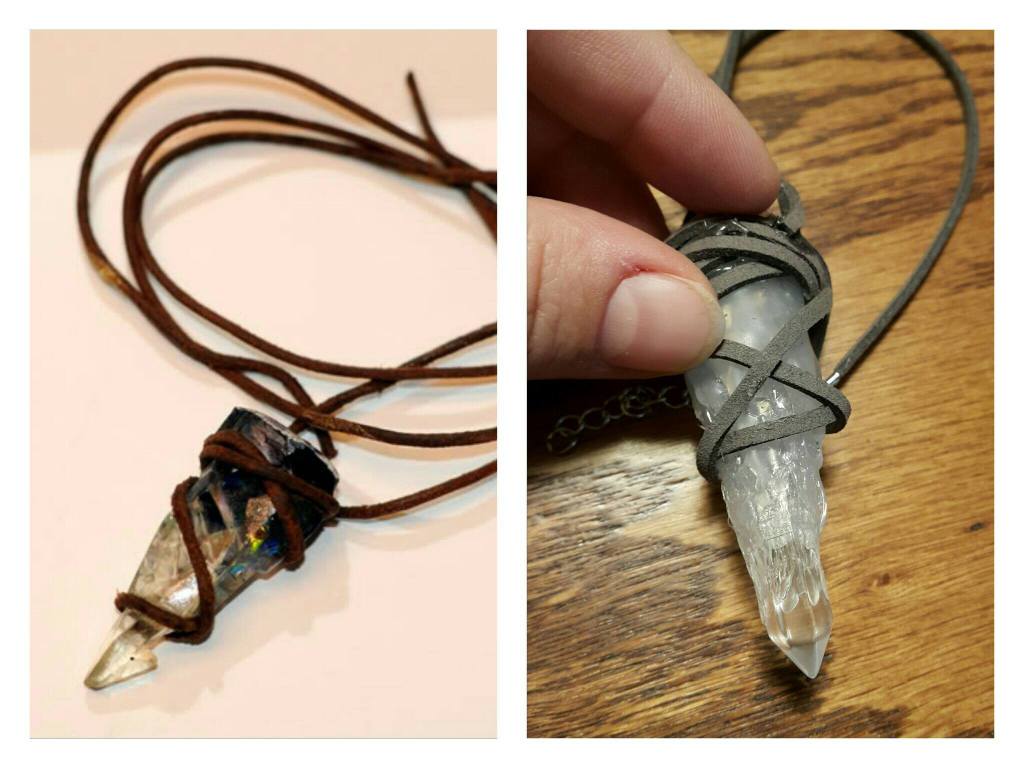
To tackle making the meteorite fragment itself, I took a tiny pointed piece of wire-wrapped quartz from my jewelry box and cut the wire off. Then I wrapped a clear piece of plastic around it (I cut the plastic off of a package of tealight candles I’d recently bought to light jack-o-lanterns with) to make a cone shape. The quartz made the pointed end of the cone. I glued the plastic cone in place with the hot glue gun. Then, holding the cone by the quartz tip, I covered the plastic with hot glue. The result was a larger, hollow, crystal-looking “spike” that I wrapped with one of the leather cords. I hot glued the cord in place as I went while making sure to leave a basket-handle type loop over the top of the meteorite. The “basket handle” loop not only allowed it to be hung from the other leather cord to be worn as a necklace, but it also provided enough room for the LED light mechanism to be dropped in from the top. To retrieve the light mechanism, I literally cut open the blue LED balloon and took it out (I bought the single LED balloon for $0.98 at Walmart by the party supplies). You just remove a plastic strip to activate the light, then push it inside the meteorite “cone” and you’re good to go!
And that’s all there is to it!! Again, I strongly recommend visiting the Dharma Trading Company’s website if you decide to tackle this project (or simply want tons of inspiration). I can’t thank them enough for providing the supplies for this project. They truly made Evie’s Halloween magical.
CREDIT:
Lost and Farm, 2 Nov. 2016, https://lostandfarm.wordpress.com/2016/11/02/ombre-dying-the-diy-guide-to-making-a-princess-daisy-costume-from-the-super-mario-bros-movie/